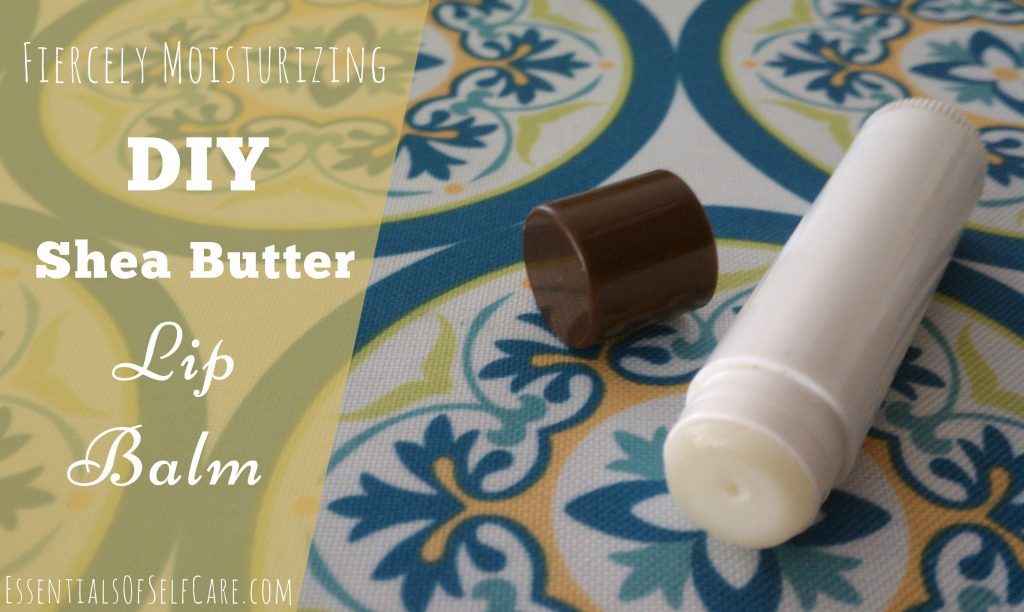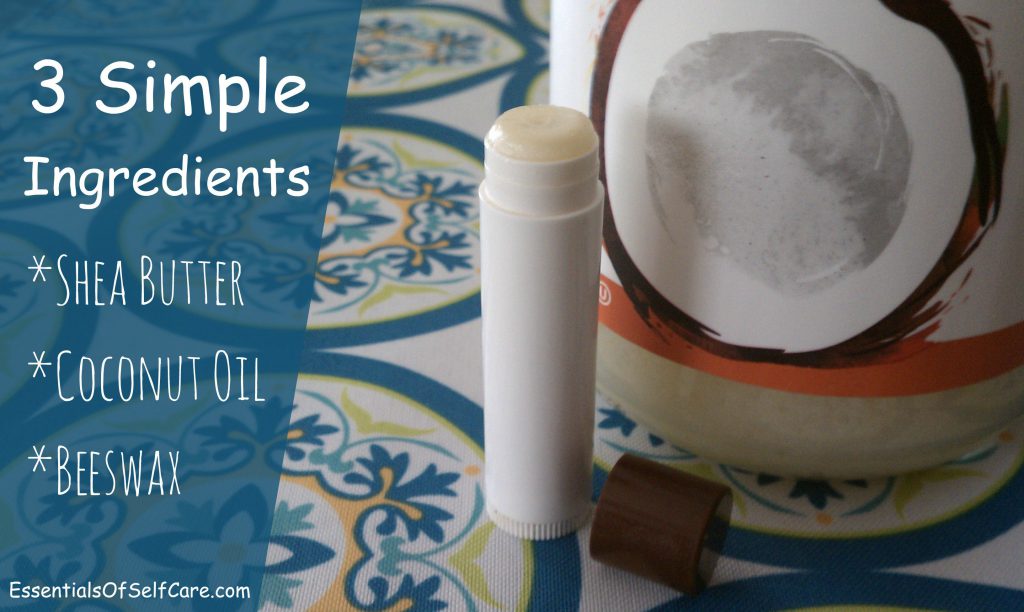
Shea butter, coconut oil, and beeswax are all you need to make a fiercely moisturizing DIY shea butter lip balm. Lip balm is one of those things that may be easy to buy, but making your own is so simple and I think you’ll love it just as much as I do. But before we get going, let me tell you a little story about lip balm.
Confession: I am lip balm’s biggest fan. In fact, I’m not even gonna try and sugar coat it, I’m a bit obsessive about it. I always keep one on me, one with me in my house, and one on my nightstand. It’s kinda my security blanket. But my justification is this: when I was a kid I used to suffer with a terrible case of the chapped lips, you know it – that red ring around the lips you can spot a mile away – that was me.
And by terrible I mean not only was it annoying and embarrassing, my lips would painfully crack to the point of bleeding and it would get so raw and inflamed around my mouth it felt like it was on fire. After getting that out, I guess it’s fair to say that I’m still a bit scarred from the whole thing.
Oh dear girl, why in the world didn’t you use lip balm, you ask? I actually did, I used all the yummiest flavors of lip smackers and chapstick. I used them up until my late 20’s and guess what? I still experienced chapped lips. That is until I finally figured out the mystery. As I became savvy about what was actually in most of the lip balms I was using I realized not only were they not healing my chapped lips but they were actually making them worse. Huh? I know, bear with me here :)
At first glance, lip smackers appear to have some decent ingredients like castor oil, beeswax, and sesame oil. Good stuff right? But things like polybutene which can cause irritation of the skin, eyes, or lungs, and organ system toxicity, and acetylated lanolin alcohol which shows strong evidence as a human skin toxicant or allergen, and flavor/fragrance from artificial sources – not such good stuff. Time to get dirtier.
Chapstick is made of 45% petrolatum which made my list of dangerous skin care ingredients to avoid. Not only is it considered toxic for the skin but it also rests on top of the skin, forming a film (hello white filmy yuckiness, if you’ve ever experienced that on your lips), a barrier which doesn’t get absorbed but does facilitate the other ingredients used along with it to get absorbed deep in your skin. And looking at their ingredient list I don’t want any of these nasties to get absorbed deep into my lips.
Feel free to search these ingredients on EWG’s (Environmental Working Group) Skin Deep Cosmetics Database for a description and health concerns.
My Lips are Sealed
Not that I needed more proof, but last year I was on a road trip and forgot my lip balm (*@*!) and the only thing around was a gas station carrying…you guessed it (!) chapstick. Desperate, I bought one and started using it right away only to find my lips progressively getting more and more chapped – what a hot mess, and that yucky film…yeah, that too :(
When I mentioned earlier that my lips weren’t healing, it’s because the lip balms I was using contained ingredients that were keeping my lips locked in a vicious cycle of chapped madness! On top of that I used to have dry, itchy throat from the synthetic fragrances and dyes.
Once I switched to lip balm with non-toxic ingredients my lips finally started getting the soothing relief they had been longing for. Since then I’ve tried many lip balms with ingredients that have healed my lips for good, but one of my favorite ingredients of all is shea butter.
Whether you have severely chapped lips or just love a great lip balm this recipe is for you!

Fiercely Moisturizing DIY Shea Butter Lip Balm
INGREDIENTS
- 3/4 tsp shea butter
- 3/4 tsp coconut oil
- 1/2 tsp beeswax
- Optional: 7-14 drops essential oil(s), depending on how fragrant you like it
DIRECTIONS
- Fill a small saucepan with an inch to a couple inches of water and place over medium heat
- Place shea butter, coconut oil, and beeswax in a glass ramekin and heat, stirring until melted
- Remove ramekin from pan, being careful not to get condensation in the mixture, and if using essential oils stir them in now
- Using a pipette, fill lip balm tubes, tins, or jars with mixture, tapping down to release any air bubbles
- Let tubes, tins, or jars sit for a few minutes, and once dry put the lids on
- Apply to lips as needed, or several times a day for consistently smooth & nourished smackers!
Notes: I’ve tried different lip balm recipes and found them to be too soft for tubes, so after a bit of experimentation, this ratio makes a solid consistency that goes on nice and smooth. If you prefer a softer texture for tins or jars you can reduce the amount of beeswax.
This recipe will fill 2-3 tubes and last a few months. I haven’t used tins or jars yet so I’m not sure how many this will fill. If you want to fill more, just scale up the ingredients accordingly. You can find lip balm tubes, tins or jars at health food stores, cosmetic wholesalers, possibly craft stores, and online. Another option is to reuse your old lip balm tubes/tins/jars.
I hope you enjoy the healing benefits of this lip balm!
Ready to make you own lip balm? Super easy, huh?!

I love lip balm also! And I make a recipe that’s slightly different by using cocoa butter!
1 T-cocoa butter
1 T-beeswax (you could use less if you want a softer balm but I like mine firm so I can keep it in my pocket, or a warm car.)
1 T-oil (I used half coconut and half Grapeseed oil)
15-20 drops favorite essential oil (I used 5 drops Rosemary and 15 drops peppermint)
Follow Jess’s directions and ta da! Amazingly delicious lip moisturizer :)
Makes about 6 tubes
Thank you for sharing your recipe Rachel! it’s sounds delicious, I’m totally gonna try this – I’ll probably make mine without the essential oils just because I love a fragrance free lip balm but the rosemary and peppermint combination sounds delightful if you like it to smell yummy!