
Calling all stinky sauerkraut fans (says one herself!). I’m happy to report this fermented sauerkraut recipe is seriously easy peasy. Easy peasy lemon squeezy (say that five times fast!).
And believe it or not, on the contrary, it’s actually non-stinky!
Surprised? I know I was. If you have the same vision of smelly fermented sauerkraut wafting stink-ily throughout your entire house, you’re about to be pleasantly surprised. My batches have zero odor during fermentation.
In fact, I will go so far as to say, store bought stuff smells way, way more rank!
I’ve been experimenting a lot more with making fermented foods lately since they’re loaded with fantastic health benefits. Find out just how awesome they are and why your gut needs them here.
Scaredy Cat Sauerkraut Syndrome?
If you’ve ever hesitated to make your own fermented foods at home, no worries, I was a little scared at first. Carnies. Circus folk. Nomads, you know. Smell like cabbage. Small hands. Sorry, couldn’t resist the Austin Powers quote.
But sauerkraut is seriously the way to go. It’s the easiest for beginners, tastes delicious (waaayyyy more delicious than most crappy store bought or restaurant kinds!) and is loaded with healthy probiotics for your tummy.
And it’s way less scary than nuclear war for sure (I really hope you’ve seen Austin Powers, otherwise I look a bit cray cray right about now)!
About That Taste
I’m not even kidding, if you’ve never had live fermented sauerkraut, you have no idea what it’s really supposed to taste like and make you feel like. And if you think you can’t stand it, try this recipe and think again, you’ll have your tummy and taste buds dancing a jig in no time!
To help with digestion, I’ve been eating it before meals, adding it to salads, and sometimes I just get a craving to grab spoonfuls in the middle of the day. Yeeeeppp!
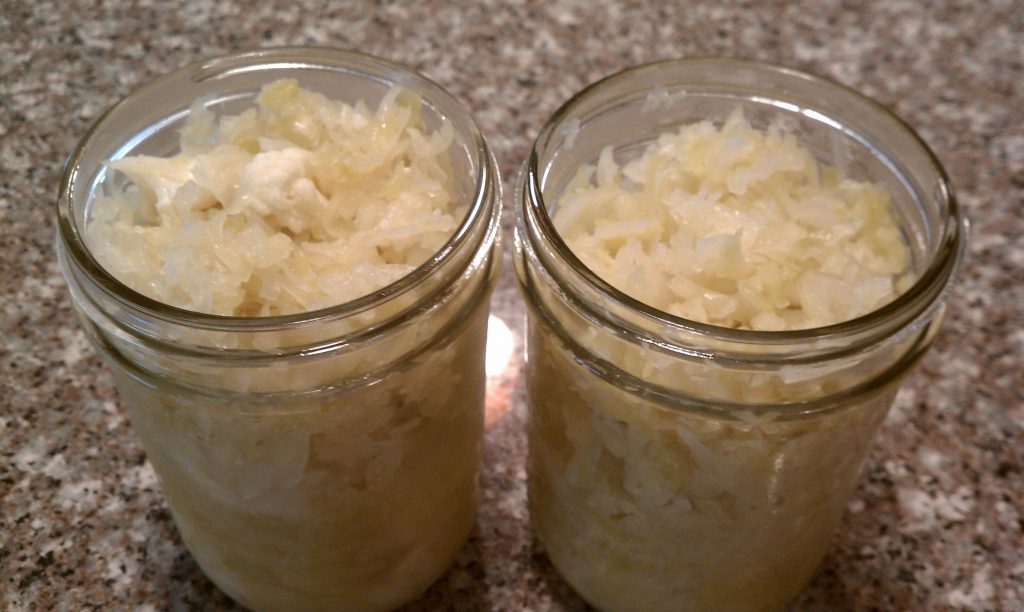
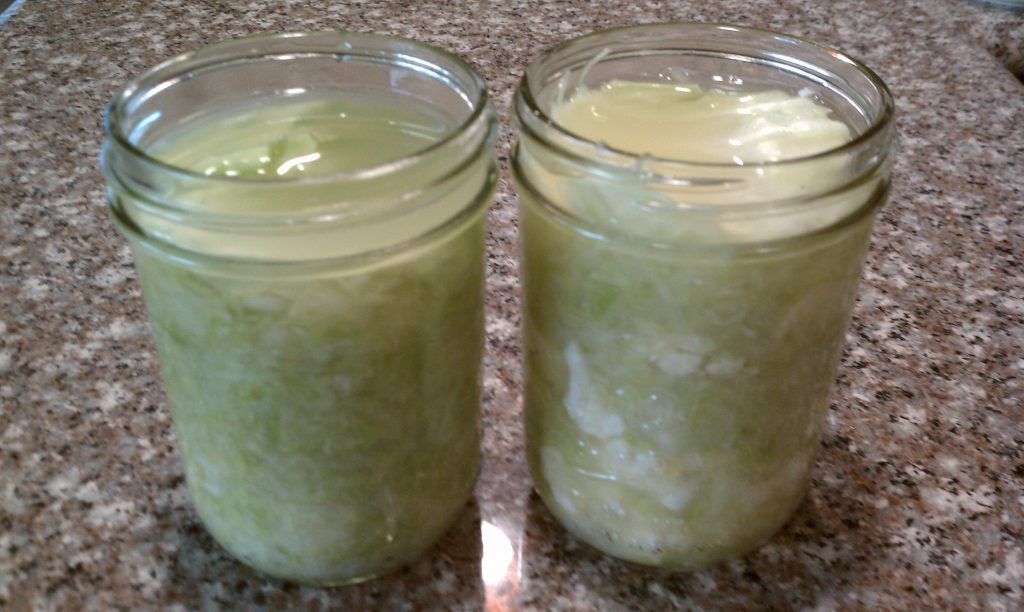
I used green cabbage here, but red is fine too. I also had some left over cauliflower I wanted to use up, so I chopped it into small pieces and added it to a batch, which is why you see larger white pieces in one of the jars – turned out great!
Step by Step
Start by shredding a medium sized head of green or red cabbage in a food processor or with a knife.
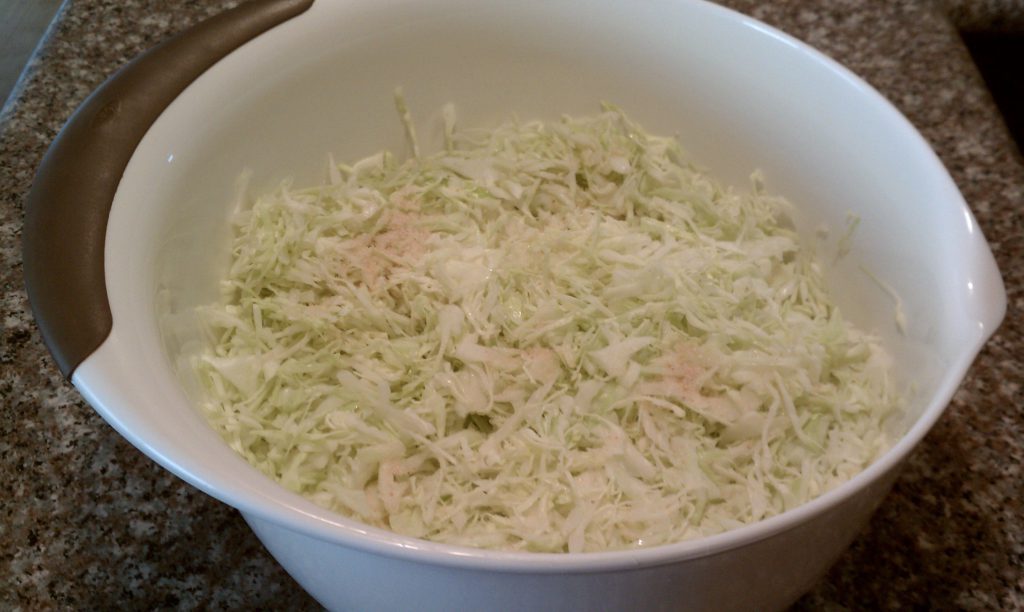
Layer cabbage with 1 Tbsp + 1 tsp himalayan, sea, or pickling salt (non-iodized) in a large bowl. You can add 1 Tbsp caraway seeds and/or 1/2 cup grated carrot for flavor and color if you like.
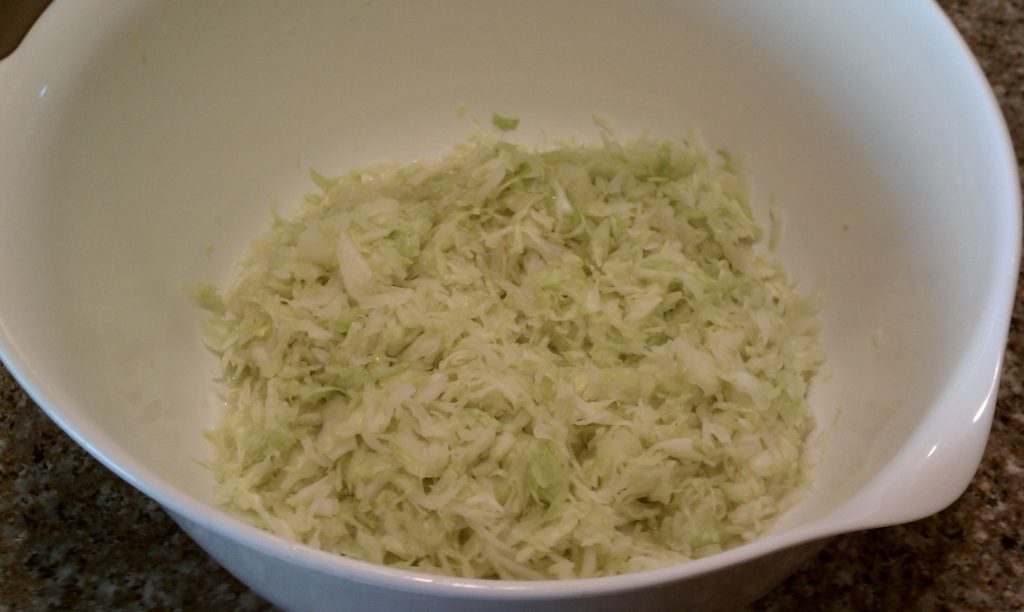
Mix it all up really well, squeezing as you mix, and let it stand for 10 minutes.
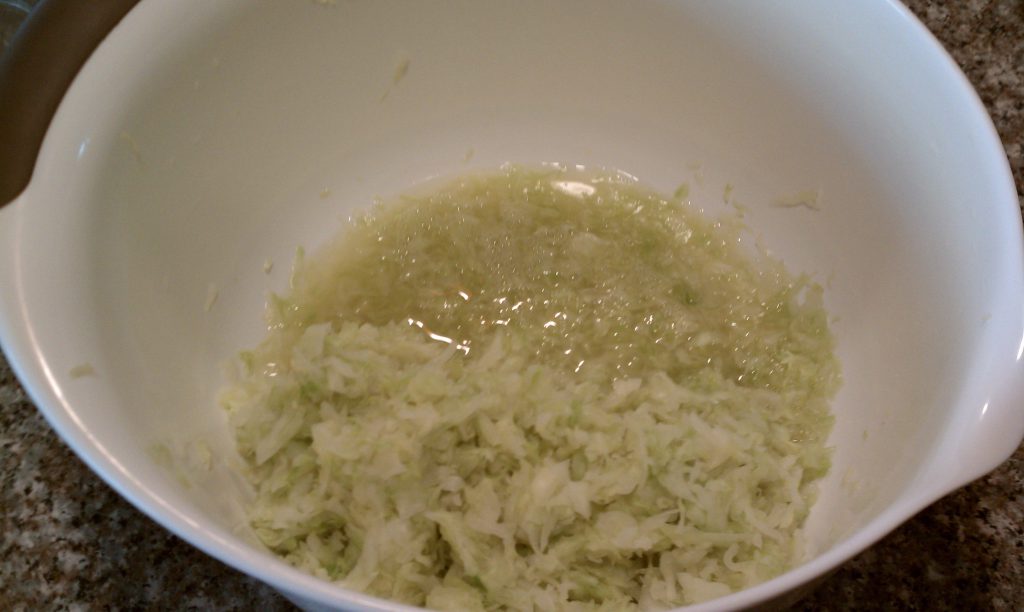
After 10 minutes, mix it up squeezing hard and pushing down until you see a bunch of juice in the bowl.
Start packing the cabbage into jar(s) pushing it down hard as you continue to fill it (I use my hands, but you can opt for a spoon too).
Once full you should have a good amount of juice on top. This is good, you want it to cover your cabbage about a 1/2 inch from the top of your jar.
Cover tightly with a folded cabbage leaf set aside earlier, pressing it down so the juice covers it.
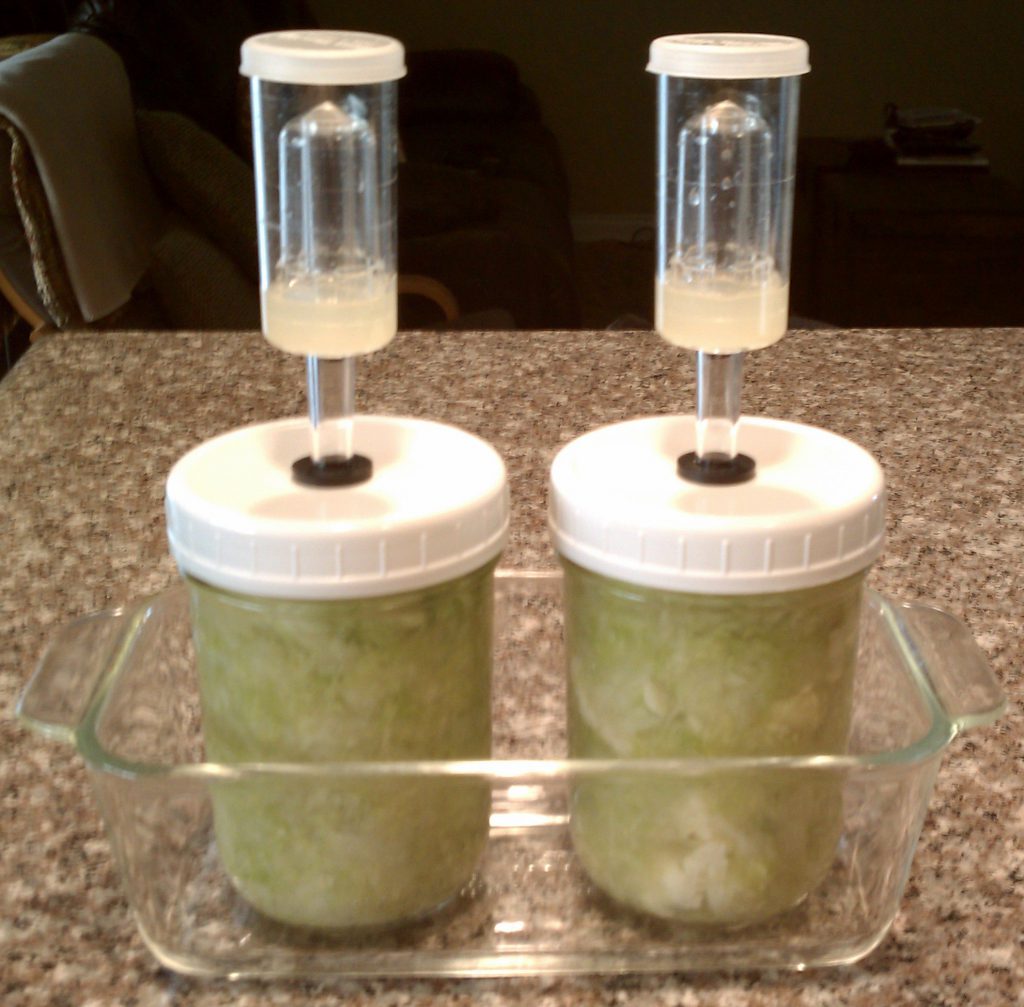
Place your lid(s) on and tighten so that it’s not overly tight but firm (if using airlock lids, which I highly recommend – fill with 1/2 inch salty water), place your jar(s) in a baking dish or on a baking sheet – anything that will be able to collect the brine that will bubble over during fermentation (totally normal), and set aside in a dark place, or at least out of direct sunlight.
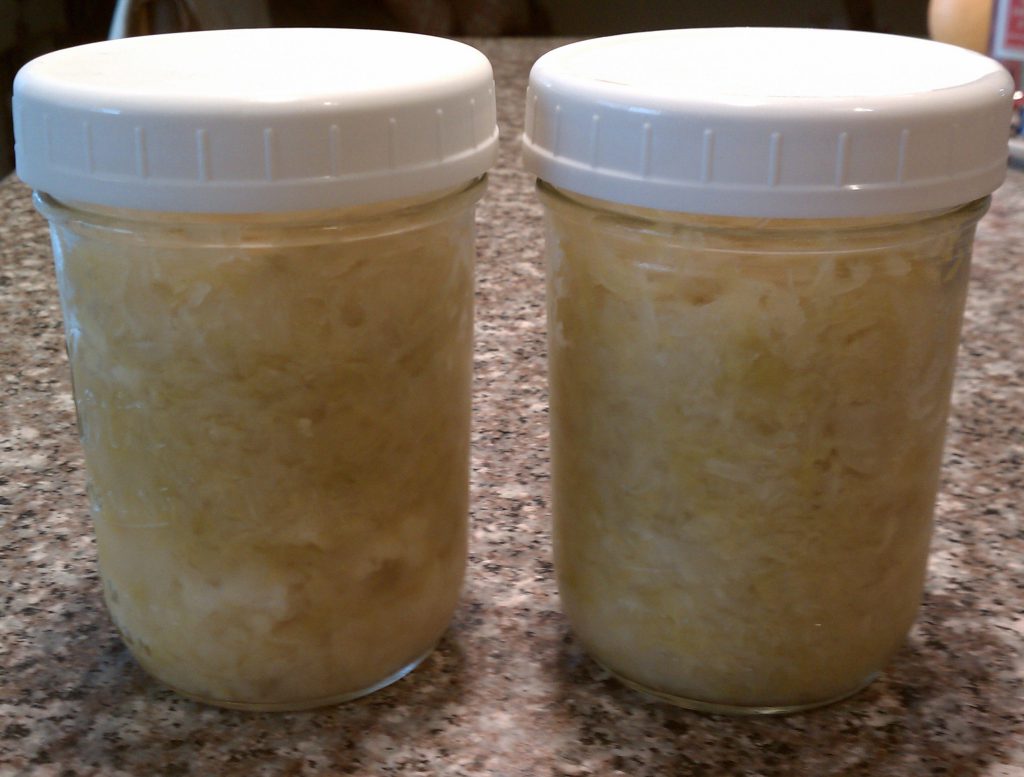
After 7 days, taste – if you want it more fermented let it go longer, otherwise store your kraut in the refrigerator (replace airlock lids with solid lids) for up to 6 months.
Easy Peasy Fermented Sauerkraut Recipe
INGREDIENTS
- 1 medium sized head green or red cabbage
- 1 Tbsp + 1 tsp himalayan, sea, or pickling salt (non-iodized)
- Optional: 1 Tbsp caraway seeds, 1/2 cup grated carrot
DIRECTIONS
- Remove 2 outer leaves of cabbage and set aside, shred the rest in a food processor or cut with a knife into thin strips
- In a large bowl, layer shredded cabbage with salt, incorporate caraway seeds and/or grated carrot if using
- Combine everything together well, squeezing as you mix it, and let stand for 10 minutes
- After standing for 10 minutes, mix it up some more squeezing really hard while pushing down – it should start making some juice, keep going until you see a good amount of juice in the bowl
- Start packing cabbage mixture into 1 quart jar OR two 16 ounce jars (make sure the jars are clean with no soap residue). Press down hard as you fill (using your hands works better to really push it down, but you can also use a spoon). The idea is to have enough juice to cover the cabbage. Fill to about a 1/2 inch from the top of the jar and cover tightly with a folded cabbage leaf set aside earlier, pressing it down until the juice covers it completely
- Place an airlock fermenting cap OR regular lid on and tighten until firm but not overly tight and fill the airlock (if using) with 1/2 inch salty water. Creating an airlock prevents outside air from entering the jar, reducing the risk of spoilage
- Place the jar(s) in a baking dish, baking pan, or a plate deep enough to collect the brine that will bubble over during fermentation, don’t worry this is completely normal and a sign that lactic acid is building which is the good stuff! Set aside in a dark place, or at least out of direct sunlight, with a temperature of preferably 65-75 degrees (hotter temps can speed fermentation and colder can slow it), for 7 days
- Taste after 7 days, mine is usually ready then but if you want it to ferment further, continue, otherwise replace the airlock caps with regular lids (I use solid plastic ones that came with my airlock lids, with a seal), and place in the refrigerator
- I usually can’t wait, so I enjoy some before it makes it to the fridge! This sauerkraut will last up to 6 months in the refrigerator but mine usually makes it into my belly way before then!
Notes: If you notice a layer of film on top of your sauerkraut, don’t worry, it’s probably Kahm yeast, which is normal with ferments and not considered harmful (details here). As long is there is no thick, white, fuzzy mold or horrible odor, just scrape the layer off.
Should you experience actual mold (which is rare), discard the entire batch immediately. It’s important to use common sense here – it’s really apparent if a batch goes wrong, the scary appearance or horrible odor is a dead give away – you will naturally not want to eat it.
Using fermenting starter airlock lids prevents outside air from entering the jar, greatly reducing the risk of botched ferments. They make fermenting easier – I never ferment without them. These are the airlock lids I use.
So that’s how you make real fermented sauerkraut! Don’t let the 9 steps fool you, I tried to break it down piece by piece, but with just cabbage and salt and some minor messy handwork you have the yummiest, most easy peasy sauerkraut ever and your tummy is oh so happy!
Plus you save soooo much money, most likely convert to a sauerkraut lover if you weren’t already, and never ever want to go back to icky store bought sauerkraut again.
It’s easy to get hooked on fermented foods and beverages once you try them. Veggies in particular are so easy to ferment. If you’re looking to branch out more into the world of fermented foods and beverages, you’ll want to read about some of my tasty faves and give them a try!
Try it and let me know what you think! Have you tried homemade sauerkraut and if not, did this inspire you to? Share in the comments below!
That looks great! Your recipe is extremely informative and easy to follow. I will admit that I was afraid of fermentation when I first started doing research on the topic – but now I think I am more than ready to jump down the rabbit hole and start fermenting on my own! I usually buy my sauerkraut from the store but I think I can save a ton of money if I just do it at home! Thanks for posting this recipe!
Hi Billy! Have fun experimenting with your own ferments, it’s a lot of fun. Since you already eat sauerkraut, I think you’re going to really like the taste of this. Enjoy, and I’d love to hear how it turns out for you!