
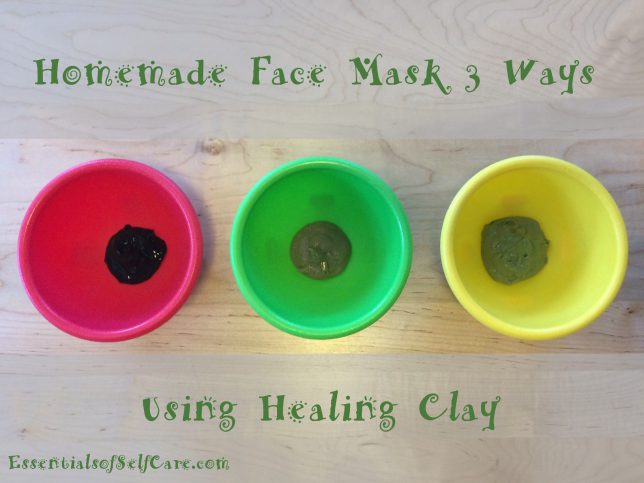
Face masks don’t always get the love and appreciation they deserve. But, whether you are a total minimalist or a shameless diva with your beauty routine, it’s hard to deny how nourished and refreshed your skin feels after a yummy face mask. So we’re doing it up with not just one homemade face mask recipe, but three!
And think about it…besides making your skin look and feel fan-freaking-tabulous, you also get to bask in some well deserved you time, or some fun spa time with the girls. I mean really…what’s not to love?!
And guys, if you think this is only a girl thing, think again. Your skin deserves attention too, so by all means, love that face up, if you dig it, of course : ) Spoiler alert. I got my guy to try it and he said his skin felt softer.
You can make these super easy masks at home, each is actually good for any skin type, but some ingredients specifically target certain skin types. Whether you’re a typical DIY’er or not, these are so ridiculously quick and easy to make, require limited ingredients, and will save you a lot of money on fancy store-bought face masks.
And like I always say…I love stuff that only has a few ingredients, and things I can actually pronounce, aannnnd things I can actually eat??? Well now, I’m really lovin’ that!
A Little Blurb About Indian Healing Clay
Also worth loving is the main ingredient here, bentonite clay – affectionately called “Ee-Wah-Kee” or “The Mud That Heals” by Native Americans. There are so many great uses for Indian healing clay (I use it in this natural toothpaste recipe), it’s also great for things like an acne spot treatment, bug/spider bites, poison ivy, a hair mask, internal detox, and much more. I need to do an entire post alone on the many benefits and uses of this incredibly healing stuff.
What makes it so amazing is it’s ability to pull and draw oils and toxins from the skin, making it an excellent detoxifier for the area it’s directly applied to. So if you’re going for blemish or oil control, bentonite clay is definitely a tool you want in your skin care arsenal. And depending on what it’s mixed with (as you’ll see in these recipes), it’s also fantastic for toning, tightening, and softening dry and aging skin. You really can’t go wrong with this magic mud!
Getting the Most Out of Your Magical Mud Mask
So is there a right way to use a clay mask? Well, it really depends on the sensitivity of your skin. Sure you can just slap some mud on your face, but if you keep a few simple tips in mind, you’ll set yourself up for a much more magical experience. The key here is knowing your skin.
Typically I like to use one of these masks once a week, which seems to work well for most skin types. Some people like to apply them more often, especially if they are acne prone. I would recommend one mask a week to begin with, since clay is detoxifying – any more than that can be too much for sensitive skin types.
Ideally, if you can wash your face first with warm water and cleanser, it prepares your skin more by opening up your pores so the mask can really get in there and work. Personally I wash my face in the sink, pat it dry with a towel, apply my mask, let it sit for 15-20 minutes and then hop in the shower, immediately washing it off before I start the rest of my shower.
When you are ready to apply your mask, massage it gently into your skin. Leaving it on for 5-15 minutes is a good general rule of thumb, before washing it off with warm water. You can also remove it with a warm, moist washcloth or damp flannel. Again, this depends on your skin type and sensitivity, so let your skin give you clues as to what works best for it.
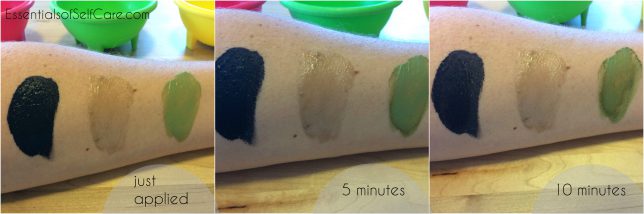
So you can see what each mask looked like at each time increment, I did a patch test on the inside of my arm, that way you can get an idea of how much time you want to leave yours on for.
Here’s what it looked like immediately after I applied it, and 5 and 10 minutes later, as you can see the charcoal and matcha masks started drying at 10 minutes, while the honey still stayed pretty moist…
At 15, 20 minutes later and after I washed it off…the charcoal looked really dry and crackly, the matcha was pretty dry, but the honey was still fairly moist (so it really is the most moisturizing of them all).
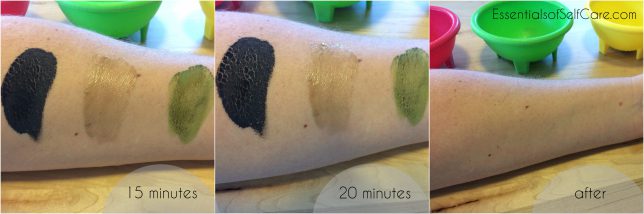
This was also tell-tale of the fact that neither the charcoal or the matcha tea stained my skin, or the container and surfaces either. Some people shy away from using charcoal for this reason, but as you can see, there’s not a trace left, so nothing to worry about.
Keep in mind that a mild tingling sensation and some redness after removing your mask is a typical sign of all those impurities being drawn out of your skin. It should settle after about half an hour to an hour.
Also, if you find that the clay becomes drying on areas like your cheeks, you can always apply it to specific problem areas only, rather than your entire face.
I decided to do this post on a day that I needed a mask so that it wouldn’t go to waste and my guy was willing to play along too. Here’s my best shamrock face just in time for St. Patrick’s Day…
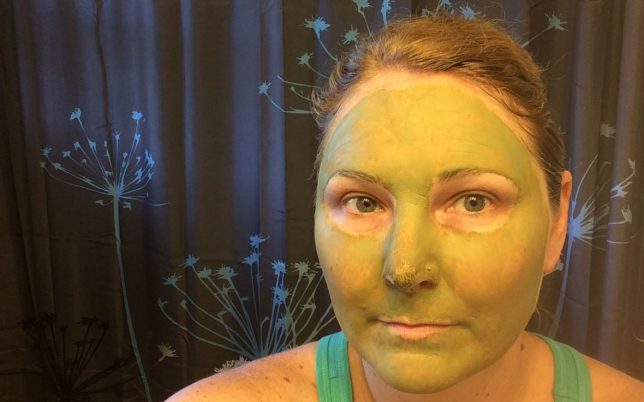
Jess is featuring the the matcha and clay mask…okay, so green tea and clay isn’t my best look =)
And here we have the Bert the chimney sweep look with the charcoal and clay mask…
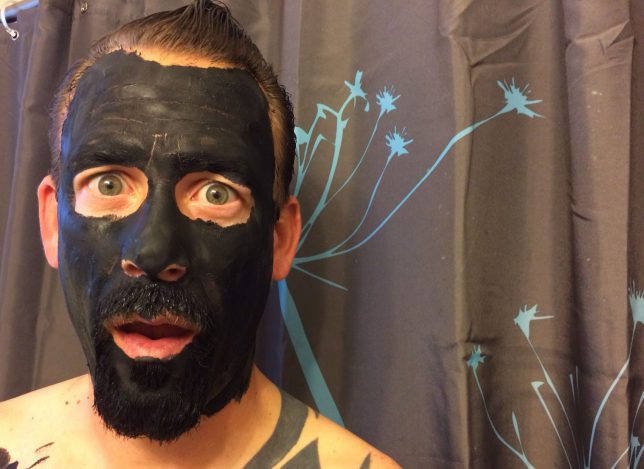
Okay, so maybe the Mary Poppins reference wasn’t the best, but way to go all in mister…there’s no turning back now! I’m seeing more couples-masks on the horizon = ) You didn’t know what you were getting yourself into, did ya?! Chim chimney, chim chimney, chim chim cher-ee…who loves ya babe…HUGS.
Now it’s your turn to play in the mud! P.S. Stay tuned for important notes after the recipes.
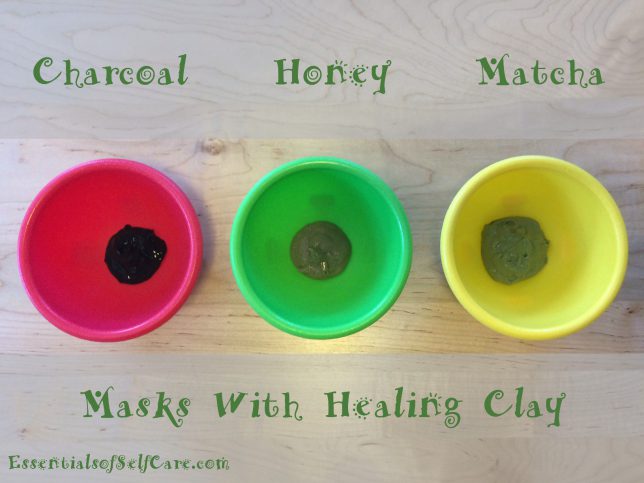
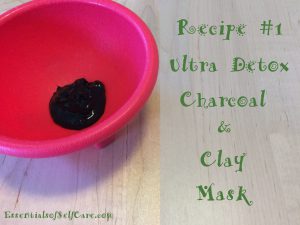
Recipe #1 – Ultra Detox Charcoal and Clay Mask (Oil and Blemish Control)
Ingredients
- 1 Tbsp bentonite clay (I use this OR this)
- 1 tsp activated charcoal powder
- 1 tsp apple cider vinegar
- 1 tsp water
- Optional: 2 drops tea tree or lavender essential oil
Directions
- Mix clay and charcoal together in a small non-metal container, using a non-metal spoon
- Add apple cider vinegar, water, and essential oil if using
- Mix well into a moist paste, adding more water if necessary
- Apply a nice layer to cleansed skin and leave on for 5-20 minutes (depending on skin sensitivity)
- Wash off with a warm moist washcloth or damp flannel OR rinse with warm water in the shower
- Apply your favorite serum and moisturizer
Recipe #2 – Hydrating, Toning and Tightening Honey and Clay Mask

Ingredients
- 1 Tbsp honey
- 1 Tbsp bentonite clay (I use this OR this)
- 1 tsp water
- Optional: 2 drops vetiver or lavender essential oil
Directions
- Mix honey and clay together in a small non-metal container, using a non-metal spoon
- Add water, and essential oil if using
- Mix well into a moist paste, adding more water if necessary
- Apply a nice layer to cleansed skin and leave on for 5-20 minutes (depending on skin sensitivity)
- Wash off with a warm moist washcloth or damp flannel OR rinse with warm water in the shower
- Apply your favorite serum and moisturizer
Recipe #3 – Softening Yogurt and Matcha Antioxidant Clay Mask (Exfoliating)

Ingredients
- 1 Tbsp yogurt (I used plain greek yogurt, regular plain or non-fat yogurt may require less water)
- 1 Tbsp bentonite clay (I use this OR this)
- 1 tsp matcha powder
- 1 Tbsp water
- Optional: 2 drops vetiver or lavender essential oil
Directions
- Mix clay and matcha powder together in a small non-metal container, using a non-metal spoon
- Add yogurt, water, and essential oil if using
- Mix well into a moist paste, adding more water if necessary
- Apply a nice layer to cleansed skin and leave on for 5-20 minutes (depending on skin sensitivity)
- Wash off with warm moist washcloth or damp flannel OR rinse with warm water in the shower
- Apply your favorite serum and moisturizer
Notes: Avoid mixing these masks in metal containers or with metal utensils since it can mess with the beneficial electrical charge of the clay, making it less effective.
I find the measurements in these recipes work well, but it’s really more about the ratio of dry to wet ingredients. As long as you go for a nice moist paste thick enough to easily apply and stay on your skin, you can play with the measurements to your liking.
I store any leftover mask in a tightly sealed non-metal container in the refrigerator and just add a little water to get it back to the original consistency, which works nicely.
2 Bonus Ingredients You Can Add to Your Mask…
- Avocado – great choice for dry and sensitive skin. Rich in healthy fats, and vitamins A and E
- Egg White – great for tightening and toning skin
Have you made a clay mask before or experienced the results of healing clay? Do share below!
Lots and lots of love and mud!